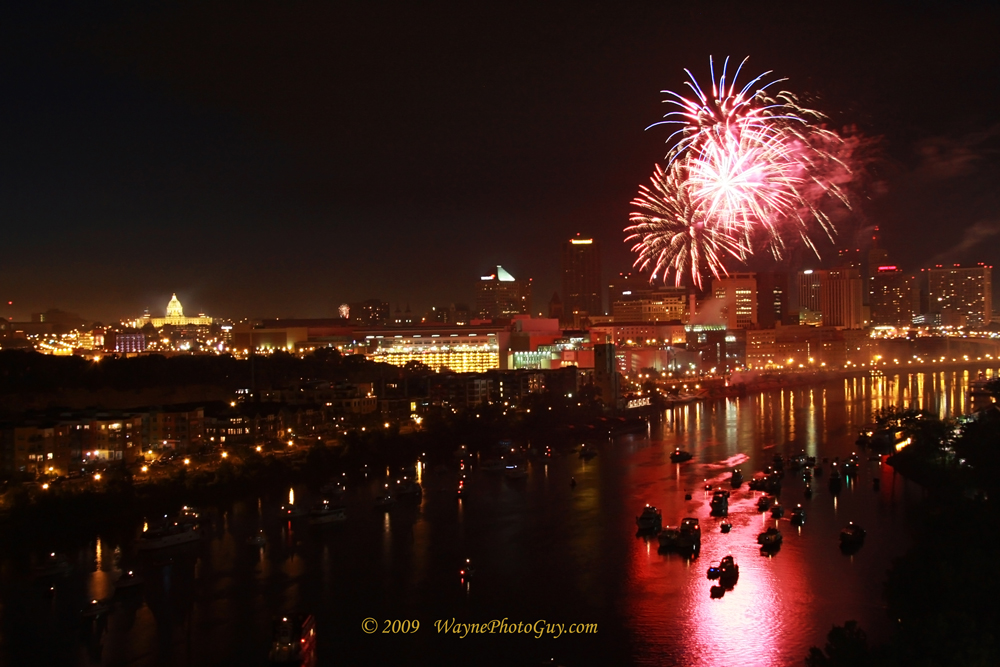
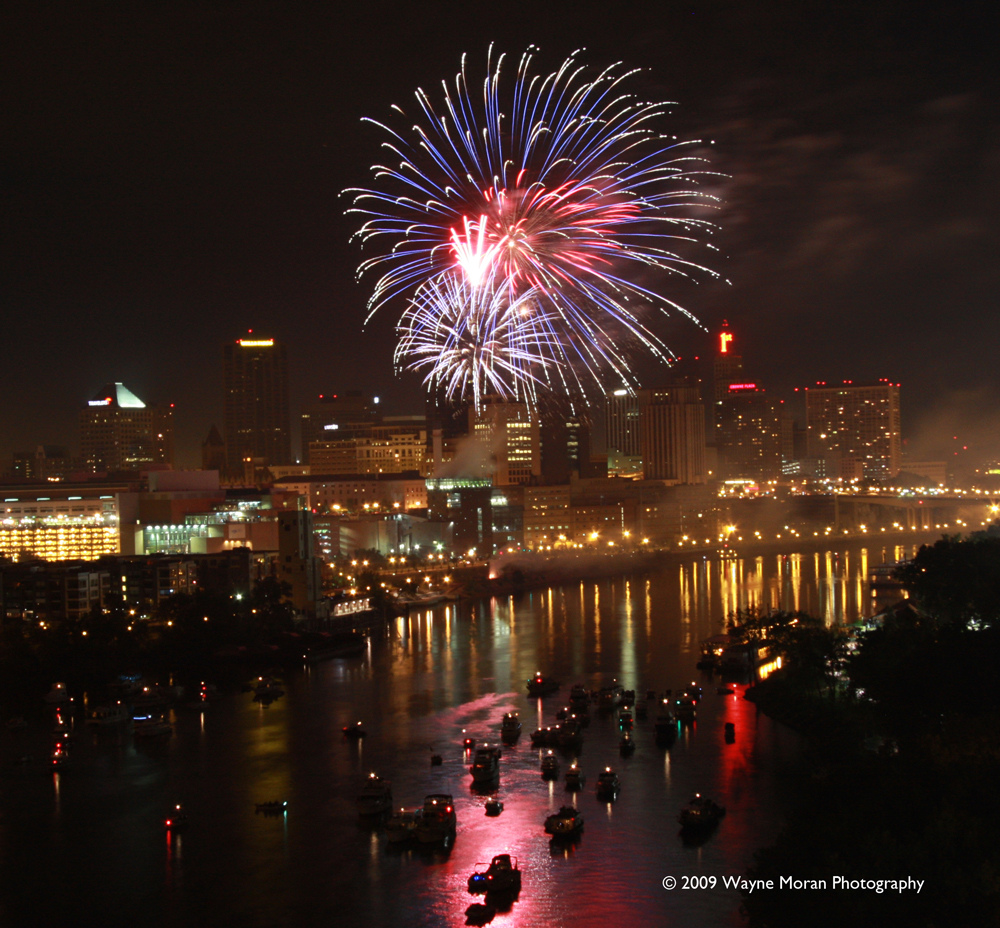
How to Photograph Fireworks Displays
Every year around the 4th of July I get the question how do you shot images from the great national holiday that look rich and capture part of the experience? It looks so hard it must be next to impossible to do right?
Well with a little bit of knowledge and some basic equipment, and essentials, you can capture these moments using your digital camera allowing you to keep these moments for posterity. So even if you’ve never tried photographing fireworks displays, it’s relatively easy to do using the information presented below.
Equipment & Essentials
You will need a tripod and a cable release for your camera or if you do not have a cable release, you can you the auto timer function set to like two seconds. These can be fairly inexpensive pieces if you don’t already have one or both but the tripod especially is critical it fact it is what makes these pictures possible.
Do your pre-work.
It is very important that you really know the setup of the fireworks display so that you can place yourself in the right spot to capture the best shots. So first find the best fireworks display in your area and learn everything about it. Look at online maps; call the committee responsible for hosting the fireworks; talk to the local police so you know of security issues and traffic flow issues; arrive early so you get the spot you want and talk to other photographers and people who look like they know what they are doing at the site. By knowing how close you will be to the actual display, you’ll have a lot better knowledge of which lens and starting focal length you’ll need to capture as much fireworks action as possible. It goes without saying that you want to build in set-up time to your shoot.
When possible, be sure to place something static in the frame for a point of reference to Earth. Trees, architecture, a background landscape feature, anything to add to the composition of the shot. Set up at late dusk so your eyes can see the landscape features.
If you have the knowledge and skill, I recommend that you shoot in Full Manual Mode but starting with Auto Focus [AF] on the lens. For the first one or two fireworks, use the camera to set your focus using AF. Look at your image display and check the sharpness and focus. If good, quickly but carefully set the lens to Manual Focus [MF] so it doesn’t keep attempting to re-focus throughout the show. In general our depth of field will be quite deep so focus will not be a huge issue because almost everything will be in focus with an F11 or more f-stop setting.
Throughout the evening check your focus again just to make sure it is staying well focused.
For the camera set up start with the following:
• Tripod – Let me repoat again, the tripod is what makes this entire shot possible. If you do not have one, get one are borrow one. If you don’t use one, you will be frustrated.
• Lens – Start with a relatively wide lens [18-55mm] set somewhere between 18-35mm. The lens and focal length will be highly dependent on how close or far your photographic location is from the fireworks launch site. If you’re too close, you may need a smaller lower focal range. The converse is true. The important part is that your focal length will be the controlling parameter for how much or how little of the fireworks display fills your framed shot at your relatively fixed location. The last thing you’ll want to do is pick up and move once the fireworks show begins!
• Apeature Setting – F/11 this aperture setting provides a good balance with between Depth of Field and Exposure Value. First, fireworks are 3-D objects with a volume. So, you want to use an F-number adequate enough to keep the entire shell of exploding, burning chemicals in sharp focus from front to back, or inside the Depth of Field. Next, F/11 is a good aperture to allow bright light in fast enough to register on the film sensor but rapidly fall-off to the black background of the night sky.
• ISO 100 – this is a general purpose ISO Value. It’ll keep the burning trails of the fireworks bright and sharp enough, and it’ll reduce the noise generally associated with longer exposures at night.
• Exposure time – 4.0 – 7.0 seconds – again a general purpose setting that may or may not need to adjusted based on field conditions and ambient light.
• Auto White Balance [AWB] – shoot in AWB Mode to make things easier on yourself. Fireworks displays are so variable in the intensity, color, and density of light against a relatively black background, I’m not sure there’s a good one-size-fits-all approach outside of AWB Mode, even trying to shoot one fireworks sequence in Custom and using that for the rest of the show. Resign yourself to some software post-processing work and just go with the AWB. You can choose to shoot in RAW making postproduction white balance related color changes very easy.
• Noise Reduction [NR] – turn it off. You should not need it and it will improve your camera responsiveness between shots. You camera will not need to do extra processing on each shot before it saves the image. Your sequential firing of the shutter will be much faster too preventing you from missing too much of the show while the NR cycle runs its course.
Note: Believe it or not, you can do most of this with most modern point and shoot cameras. So get out your manual of your camera and figure out how do use it. You can do this shot.
Review
•Tripod
•Cable Release or Timer
•Aperture F11
•ISO 100
•Exposure 4 – 7 Seconds
• Lens 35mm lens or 18 – 55 zoom [to start and depending on range]
•Some homework and planning
Wayne Moran is an artist in a software engineers body and professional photographer living in the Twin cities Metro area of Minneapolis and St. Paul MN.
You can see his photographs through his website http://www.waynemoran.com or follow him on Twitter http://twitter.com/#!/waynemoran_inc


I saw this really great post today….
Thank you so much.